Fill Excel Repeater in Excel Template
# Working with Excel connector
# You will need:
- TALXIS.Connectors.Excel.zip solution
- Excel connector API key
- Excel template document (see our example LongList.xlsx)
# Excel Template Preparation
# Set template properties
We will start with the sheet TemplateConfiguration. You can set the properties of the excel filler here. Properties include:
- RepeaterRange - a range of filler, e.g. how many rows or columns should be filled
- RepeaterVertical - boolean, set if data are being filled vertically or horizontally
- SheetName - the name of a target sheet
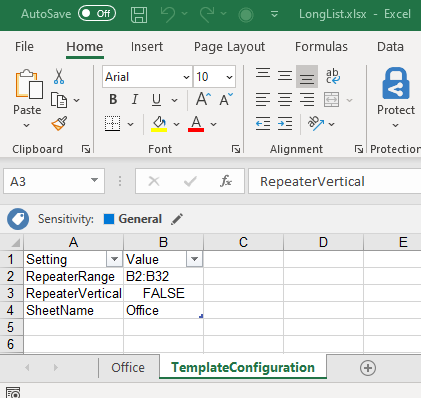
In our case, we have set the filler to be Horizontal and to range from row 2 to row 32. Also notice that we are starting from column B, because column A should contain title information.
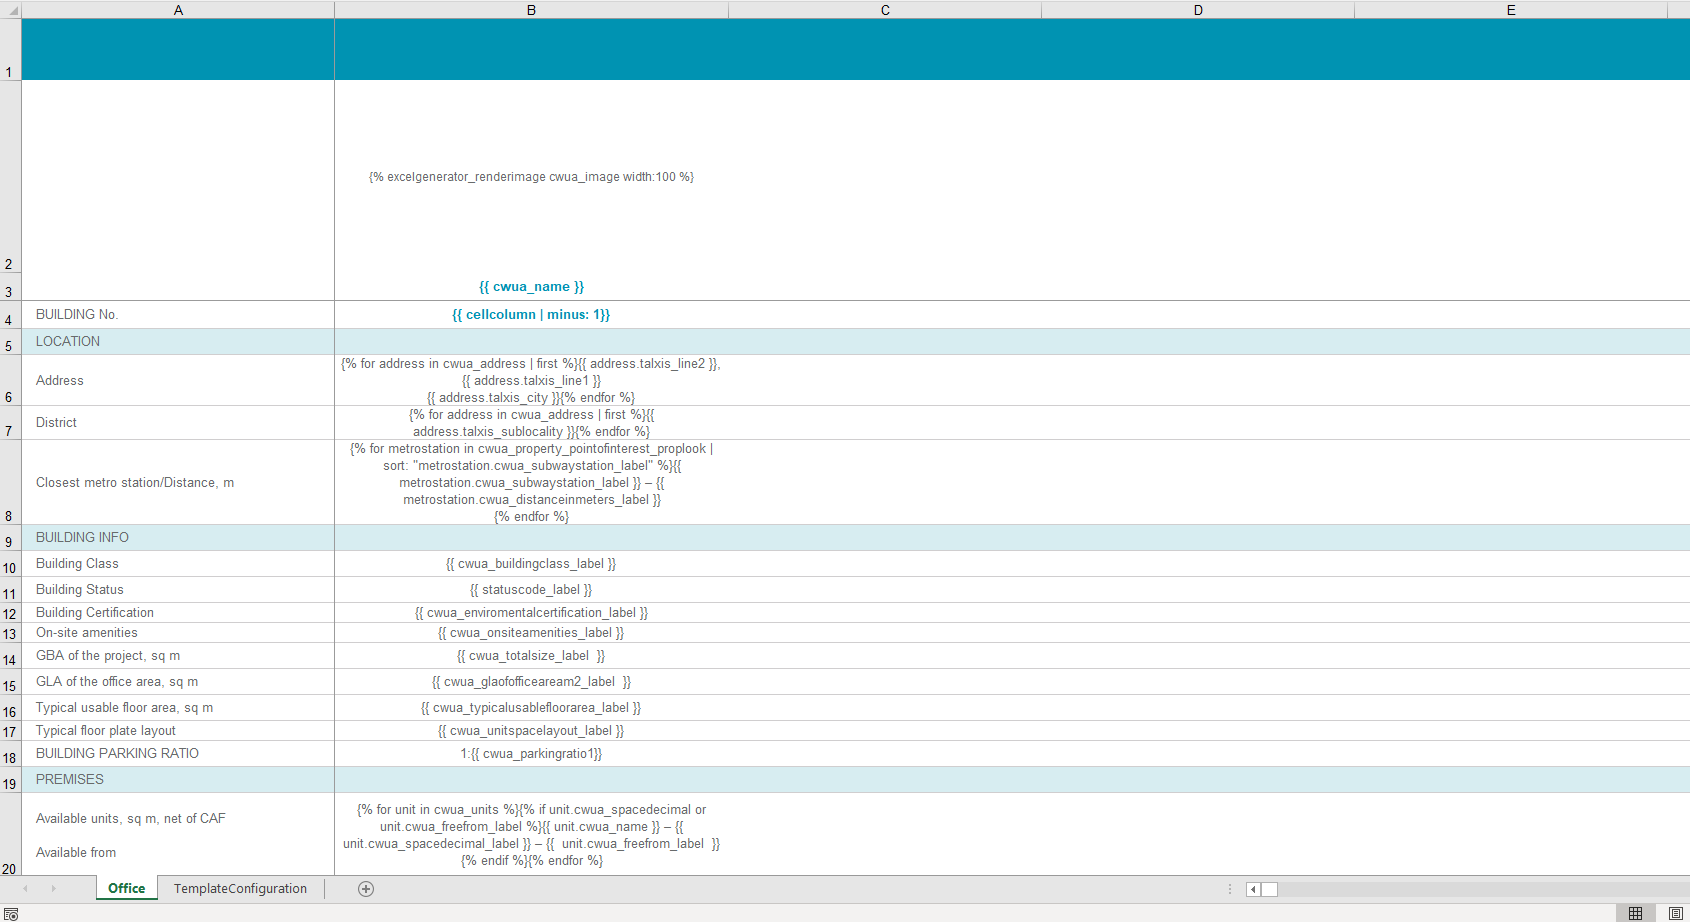
Column B, our first column of the repeater, contains liquid tags on what data should be filled in. Notice that formatting is not included in repeater must be done manually for each cell/row/column.
# Fill liquid tags
Check Shopify's docs (opens new window) to see what is possible to do with tags, but be aware that we are using DotLiquid (opens new window) and it doesn't have all Shopify's features implemented. To counter this, we have added DotLiquid.Extras (opens new window) filters, which should substitute missing functionalities.
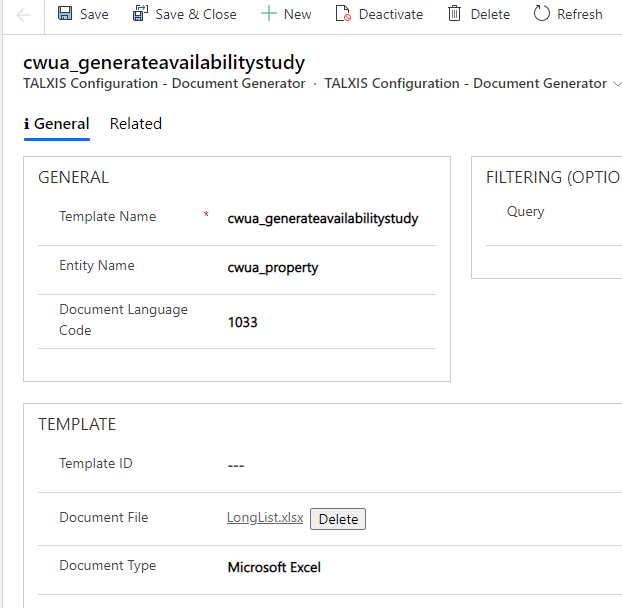
# Upload image
Done! Let's upload the excel file to PowerApps. Use Advance Find to find entity Talxis Configuration - Document Generators, create a new record, and upload the excel file there. If you ever wish to replace the template doc, just replace it there.
# Creating PowerAutomate Flow
# Getting the template document
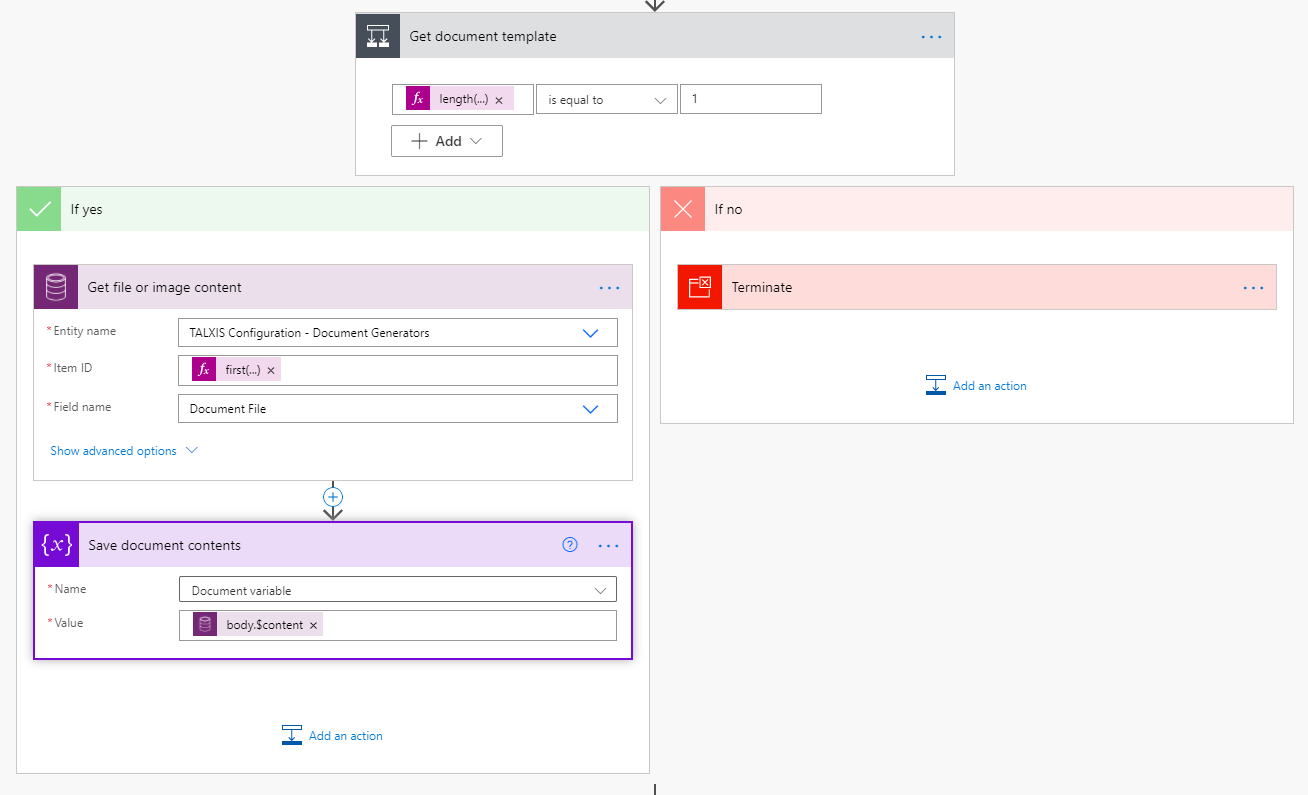
In your flow, you need to get the document record first. You will need "list records" action to find the desired document, make the filters so that the one document you wish to use is returned, no more, no less.
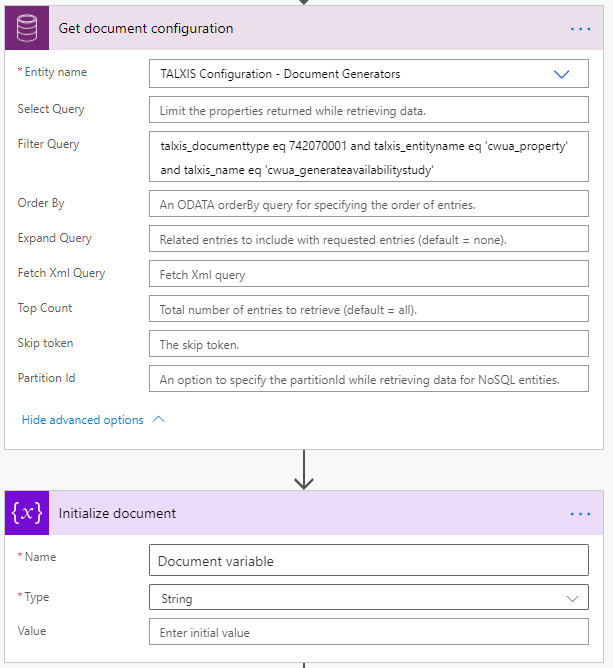
Then check if exactly one document was returned. If yes, download the contents of the record through the "Get file or image" action. Since we used list record action before, the record is stored in an array, thus use an expression to get the first item's id. Save the content of the returned file to a variable.
# Getting data
Let us move to getting the data to be filled to your excel. You need data in JSON syntax. This isn't complicated, in CDS current environment use "list records" action, or get them from any other source, as long as the output is in JSON.
# Common issue
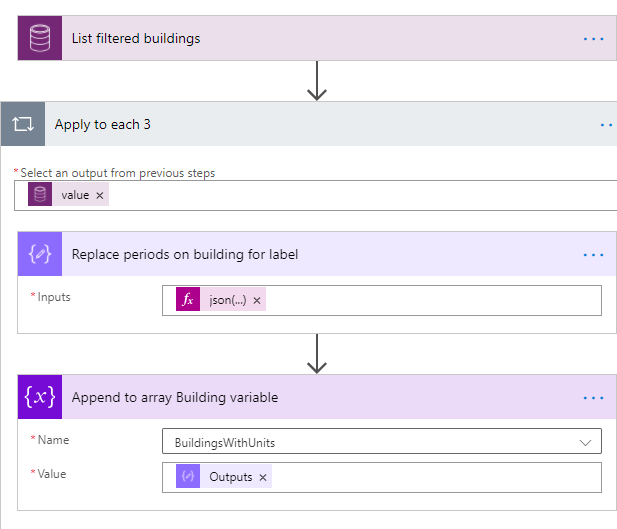
Sometimes you want to use formatted values in excel filler, but the liquid doesn't like periods and at signs (.@). The simplest way around this is to convert JSON to string, use replace action to get rid of the bad symbols, and then convert the string back to JSON. In the example below, we are replacing the whole part of '@OData.Community.Display.V1.FormattedValue' for '_label'
json(replace(string(items('Apply_to_each_3')), '@OData.Community.Display.V1.FormattedValue', '_label'))
# Connector Input/Output
Lets put all of our data to Fill Excel Repeater Template action.
- Properties: take any data in JSON format. We are using formatted JSON from "list records" action.
- Document: takes excel file in binary format. You will need to format the document variable before inserting!

To save or further process the filled document, use the output body of the Fill Excel Repeater Template action. You can save it to a record, send ut via email, or whatever your heart desires.