Use contacts to manage customer people
# Use contacts to manage customer people
# Who is the contact?
Most of your contacts will represent customers or potential customers, but you might also include partners or suppliers among your contacts, especially for events where you'll also typically include speakers, vendors, and sponsors in your contacts database.
# List of all contacts
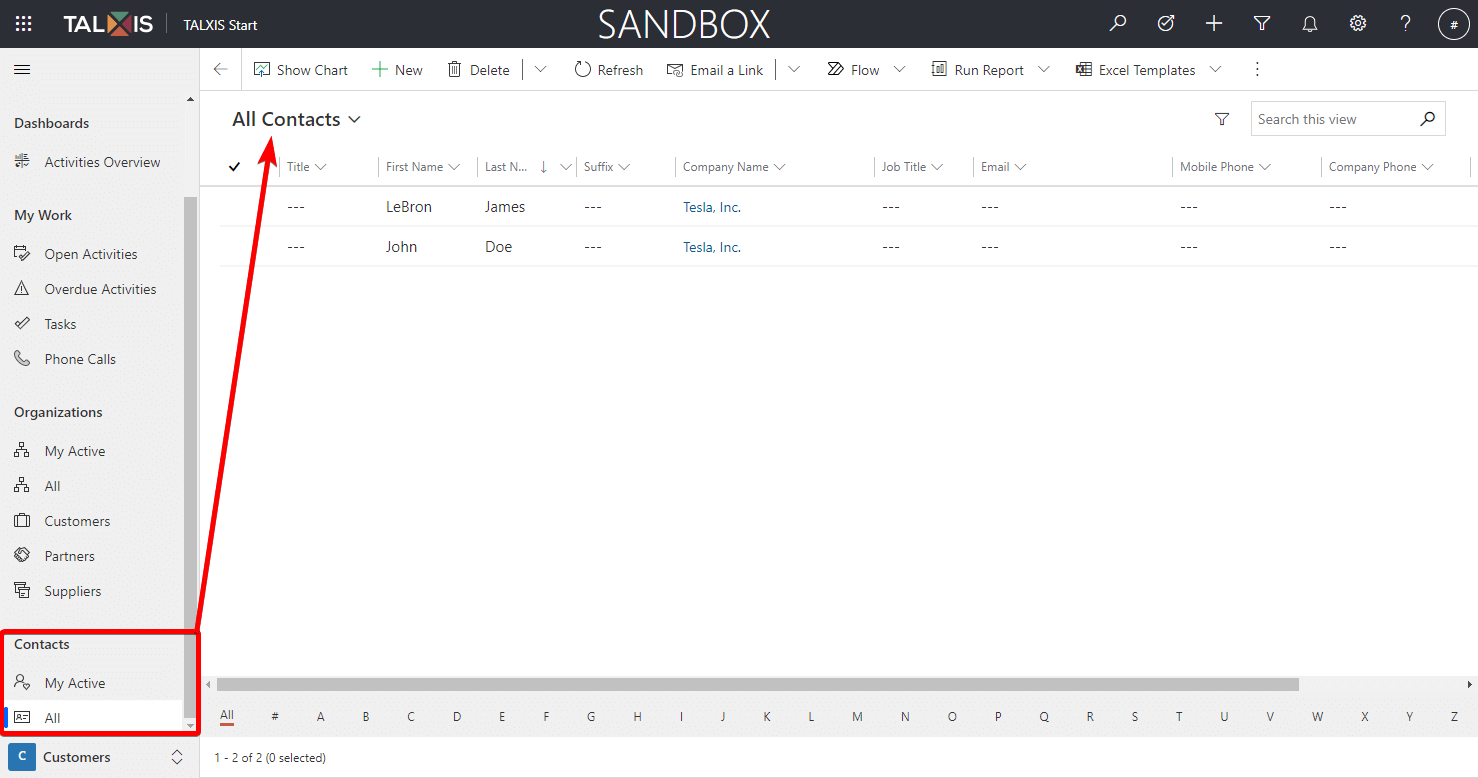
You can view all created contacts in the application. To view them, just go to the Contacts group and you will see a view with contacts. If you don't know what views are, take a look at this page: View records.
# Create a new contact
A new contact will be created using the form. If you don't know what forms are, check out this page: Forms.
Let's create a new contact:
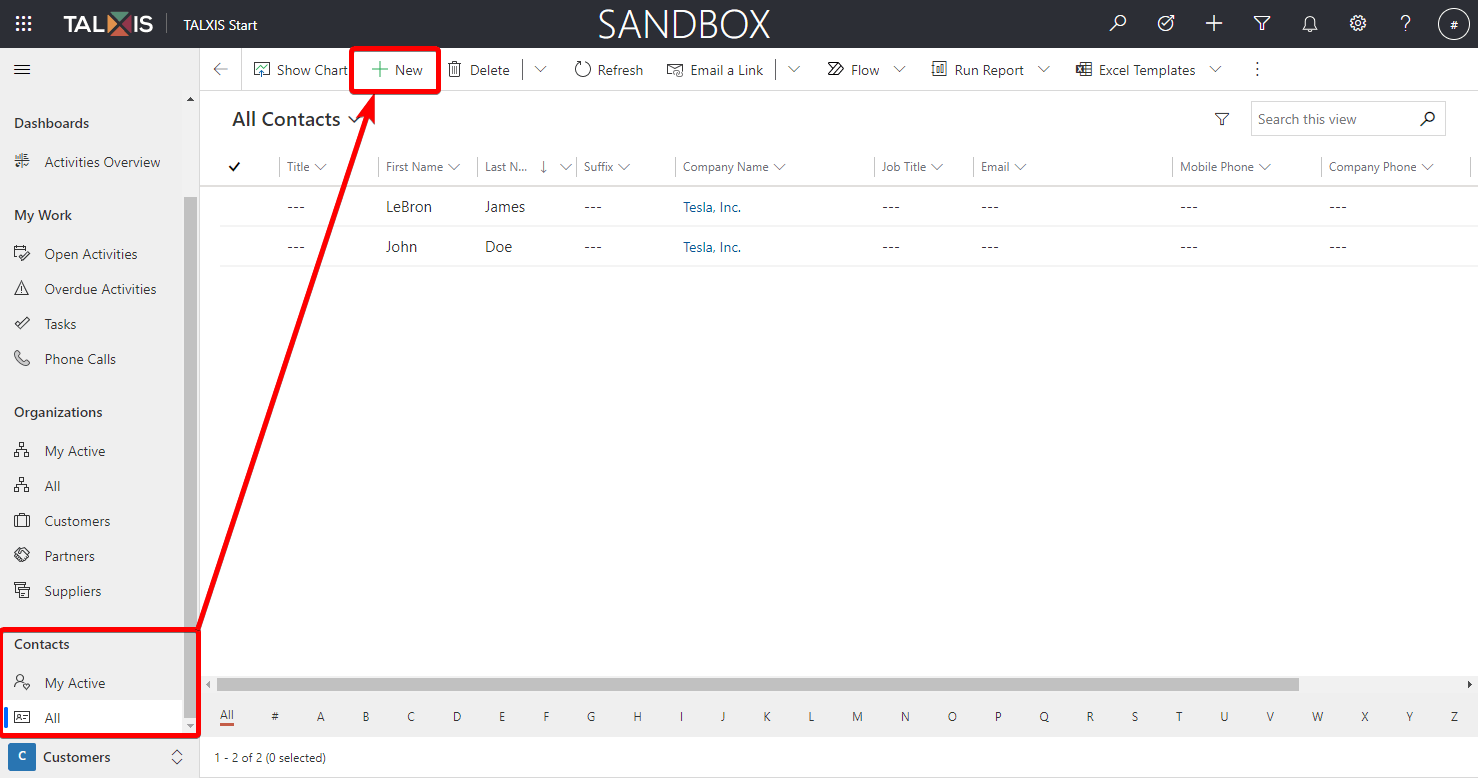
- Go to Contacts and select New in the command bar.
- The Contact form opens.
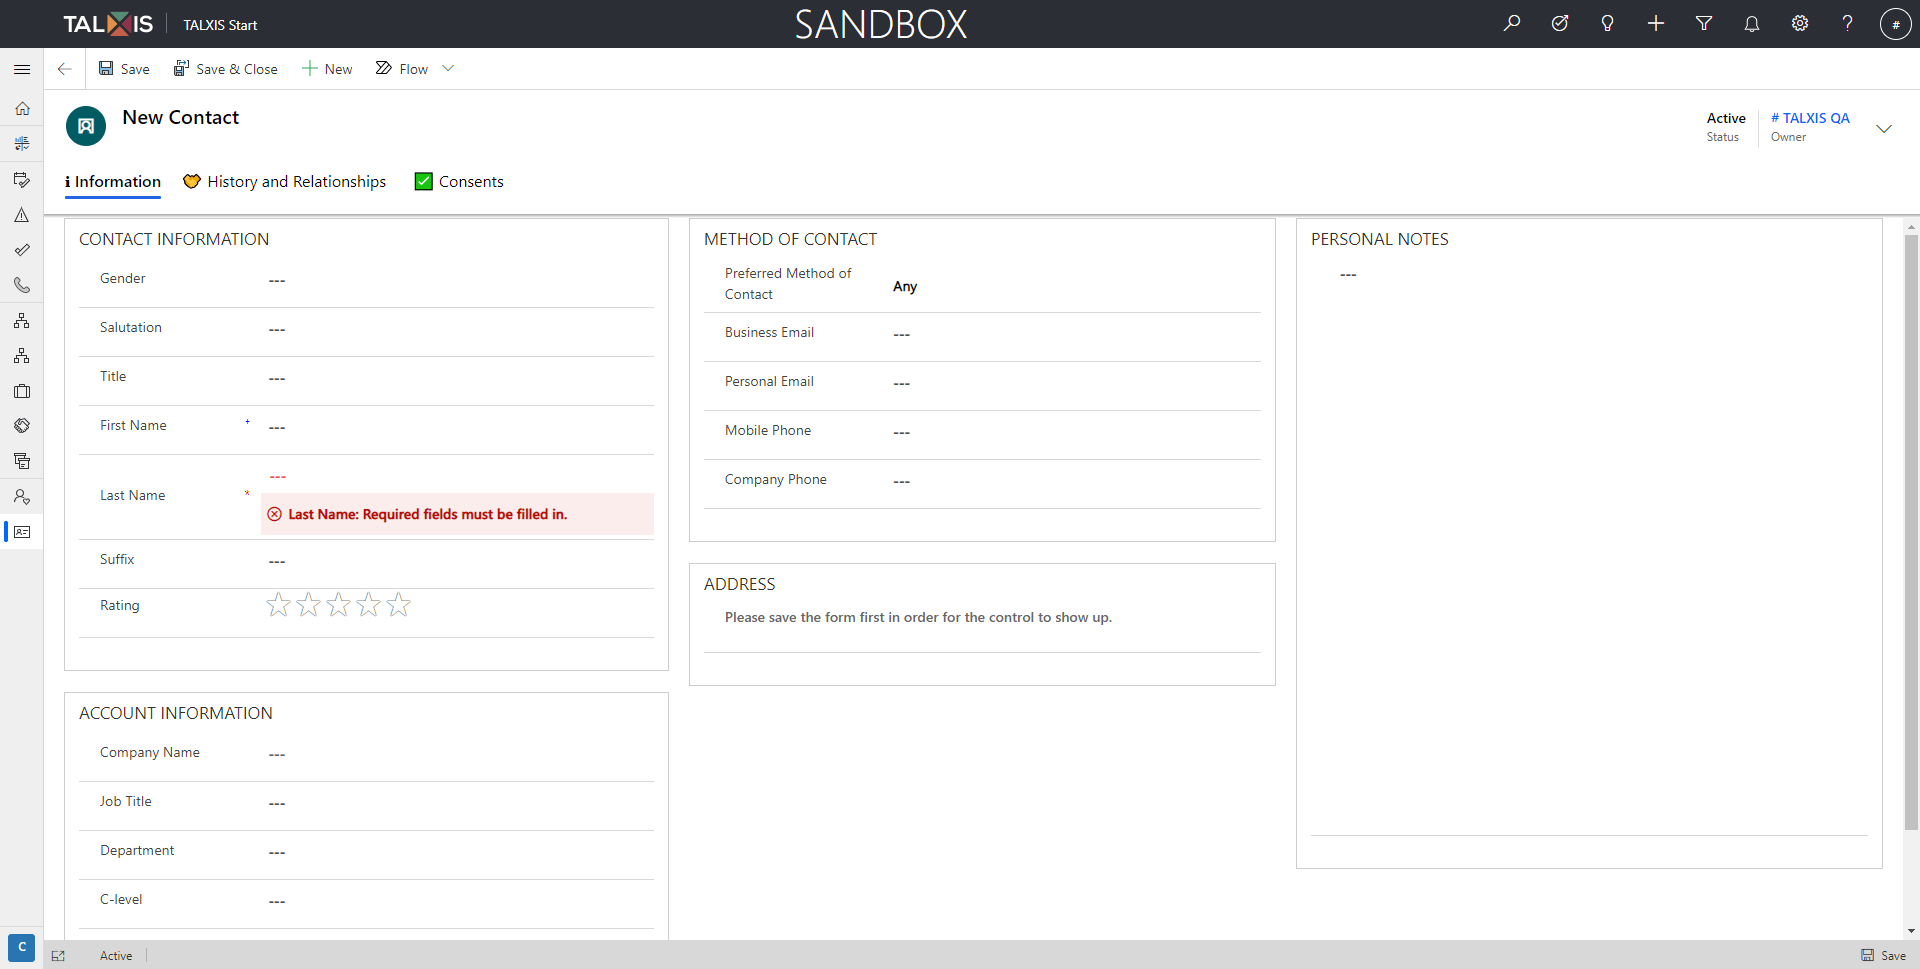
- Fill in the form.
There are many fields in the form that can be filled out. Not all fields and tabs are available immediately after opening the form, but only after saving the form.
In the header of the form is the Owner of the contact and the Status of the contact, whether the contact is Active or Inactive.
The fields described in the tables below are divided by section.
Contact information
| Field | Description | Example |
|---|---|---|
| Gender | Gender of contact. | Male or Female |
| Salutation | Greeting expression for contact. | Mr./Mrs./Ms./Professor etc. |
| Title | Word that is used before someone's name, stating their social rank. | Ing./Mgr./BC. etc. |
| First Name | Personal name given to someone at birth. | John/Eric/Giannis |
| Last Name | Contact last name. This field is required. | Doe/Gagarin/Cartman |
| Suffix | Textual suffix that may be added to the end of a person's name. | OBE/MBE/BSC/JP etc. |
| Rating | Subjective rating of the contact. More green stars means a higher rating |  |
Account information
| Field | Description | Example |
|---|---|---|
| Company Name | The name of the company (account) for which the contact works. You can select an existing company with lookup control or create a new one via forms or quickcreate form. | |
| Job Title | A title that describes someone's job or position. | accountant/programmer/social media specialist etc. |
| Department | A part of an organization. | business/school/government etc. |
| C-level | C-level, also called the C-suite, is a term used to describe high-ranking executive titles in an organization. | from C-0 to C-6 |
| Superior | Superior person associated with the contact. You can select an existing contact or create a new one. |
Method of contact
| Field | Description | Example |
|---|---|---|
| Preferred Method of Contact | Preferred method of communication with the contact. | Any/Email/Fax/Phone/Mail |
| Business Email | Business email address is simply an email used specifically for your organization. | eric.cartmen@organization_name.com |
| Personal Email | Personal contact email. | eric.cartman@gmail.com |
| Mobile Phone | Personal phone number | |
| Company Phone | Company phone number. |
- Save the form using the Save button.
# Set contact address
In the ADDRESS section, you can set the contact's address. The address can be set by pressing the + button. This functionality is only available after saving a new contact.

Pressing the + button opens a quick-create form where you can enter an address by entering it and then select your exact location by selecting it on the map on the Map tab.
Set address by typing

Select your exact location by selecting it on the map
With the scroll wheel you zoom in and out on the map.
Hold the left button to move around the map.
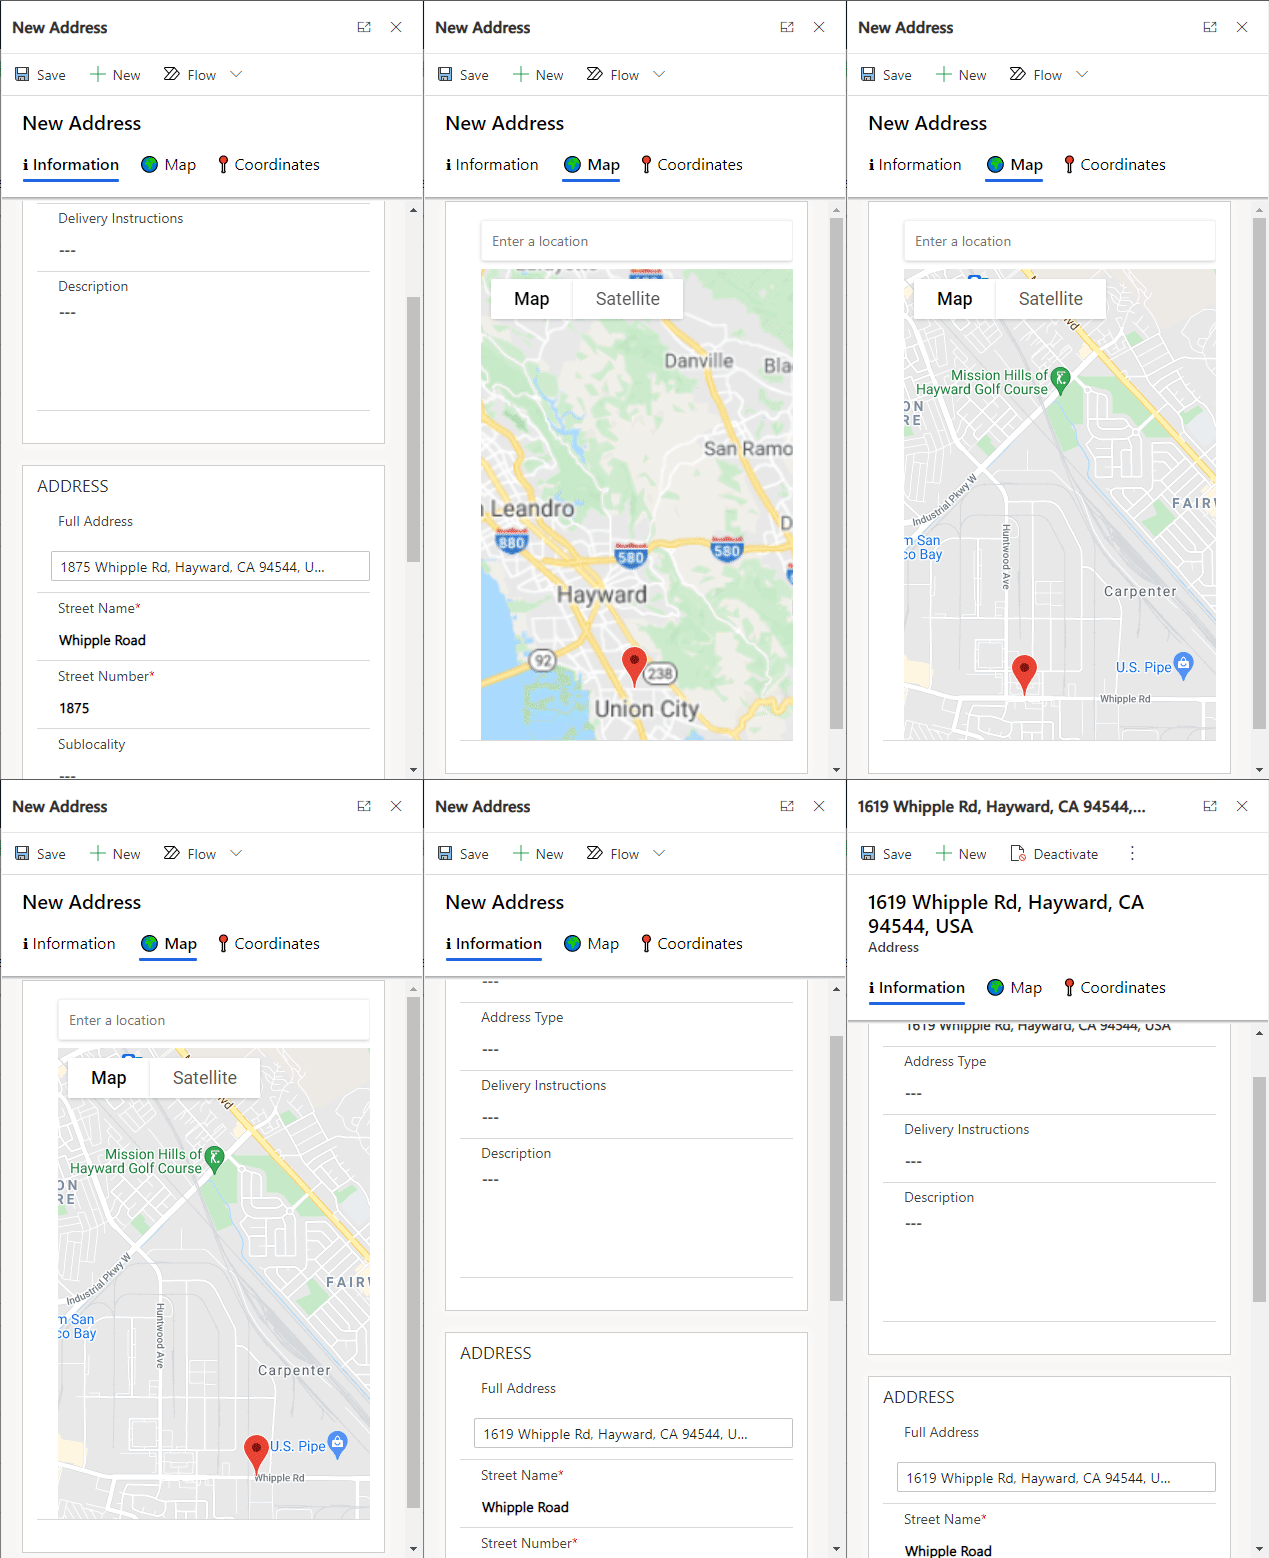
You can also select the type of address or write delivery instructions for the address.
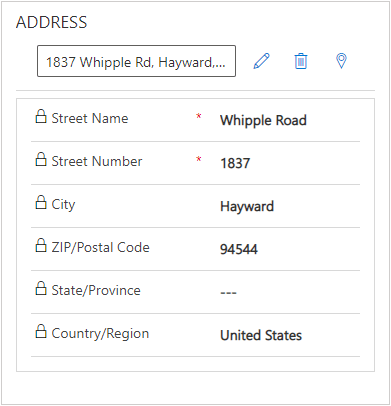
After saving and returning to the form, the full address will be displayed in the section. You can edit the address or delete it with the buttons next to the box.
# Take personal notes
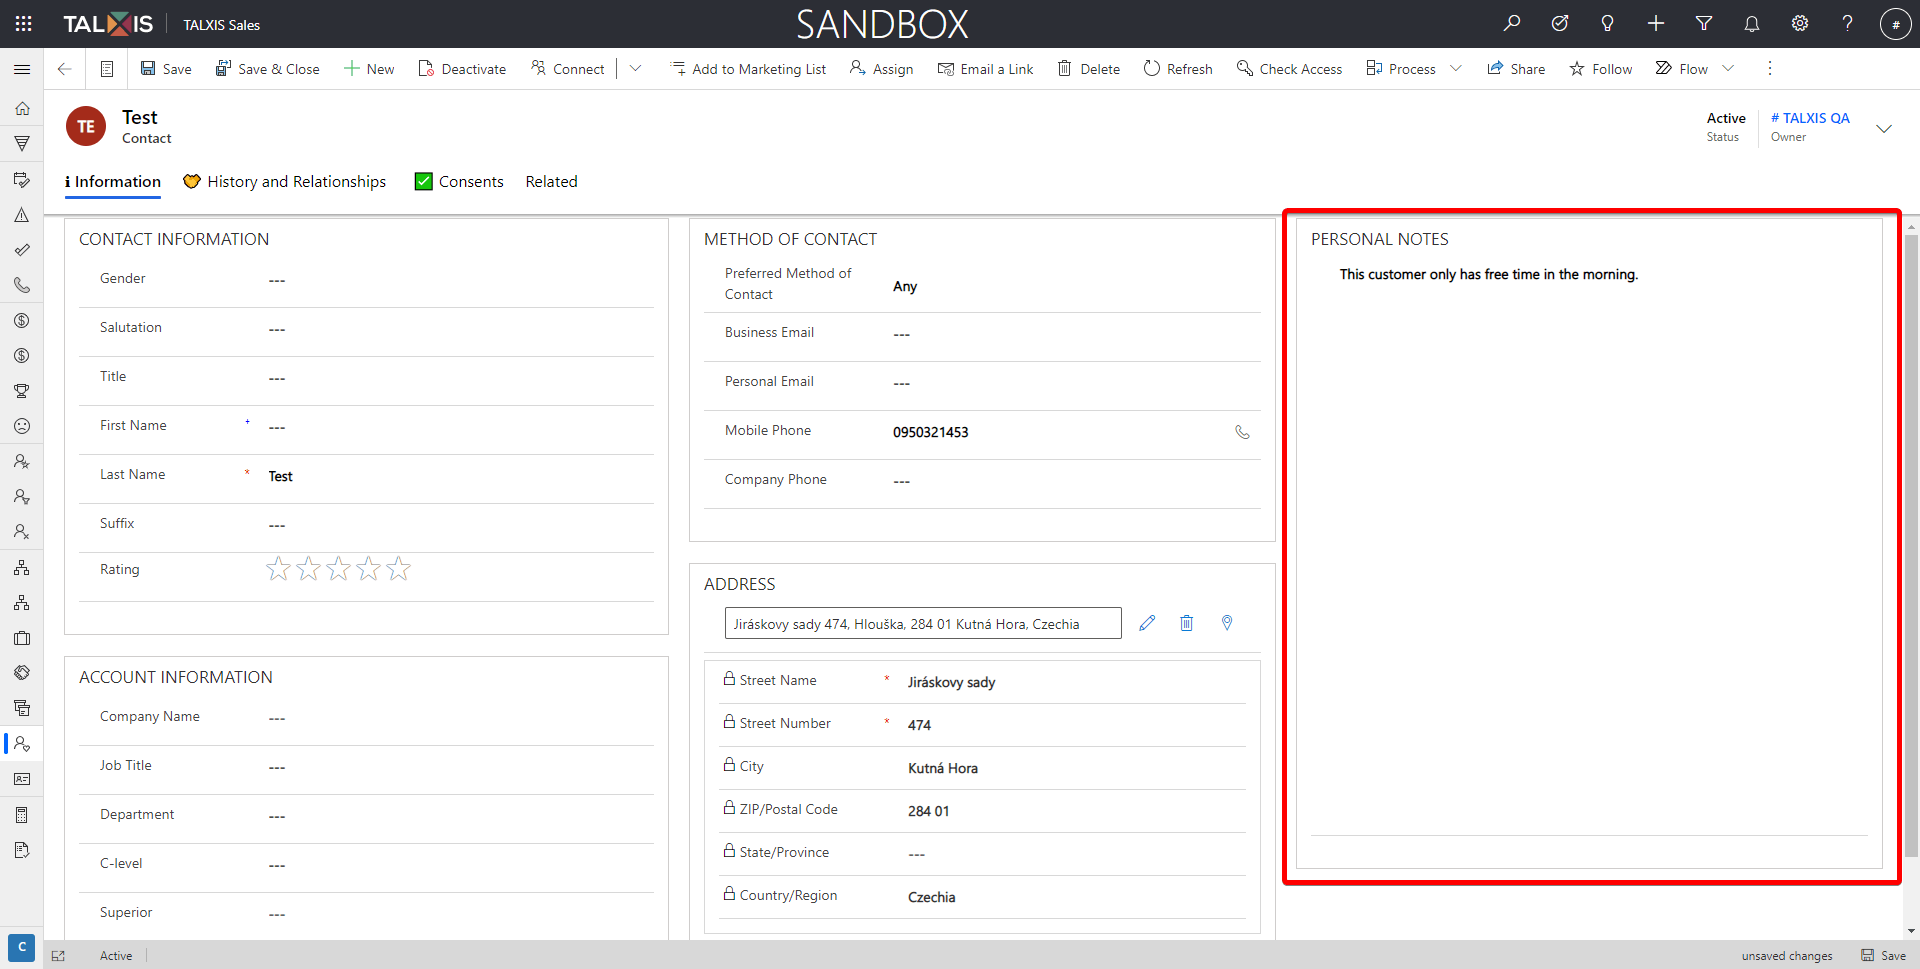
If you have any personal notes about the contact, you can write them in personal notes.
# History and activities
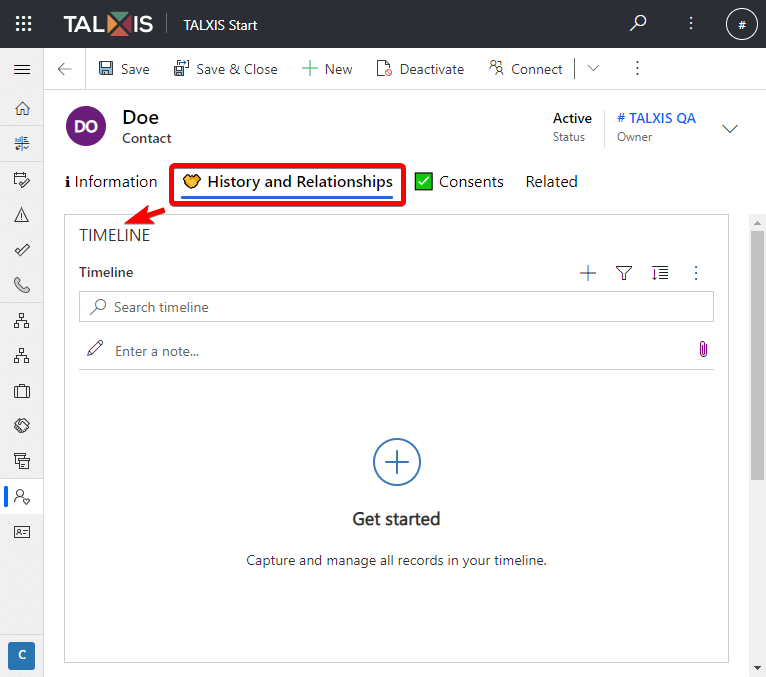
In the history and activities tab you will find the timeline. The timeline is used to store activities linked to a record. More information here.
# Consents
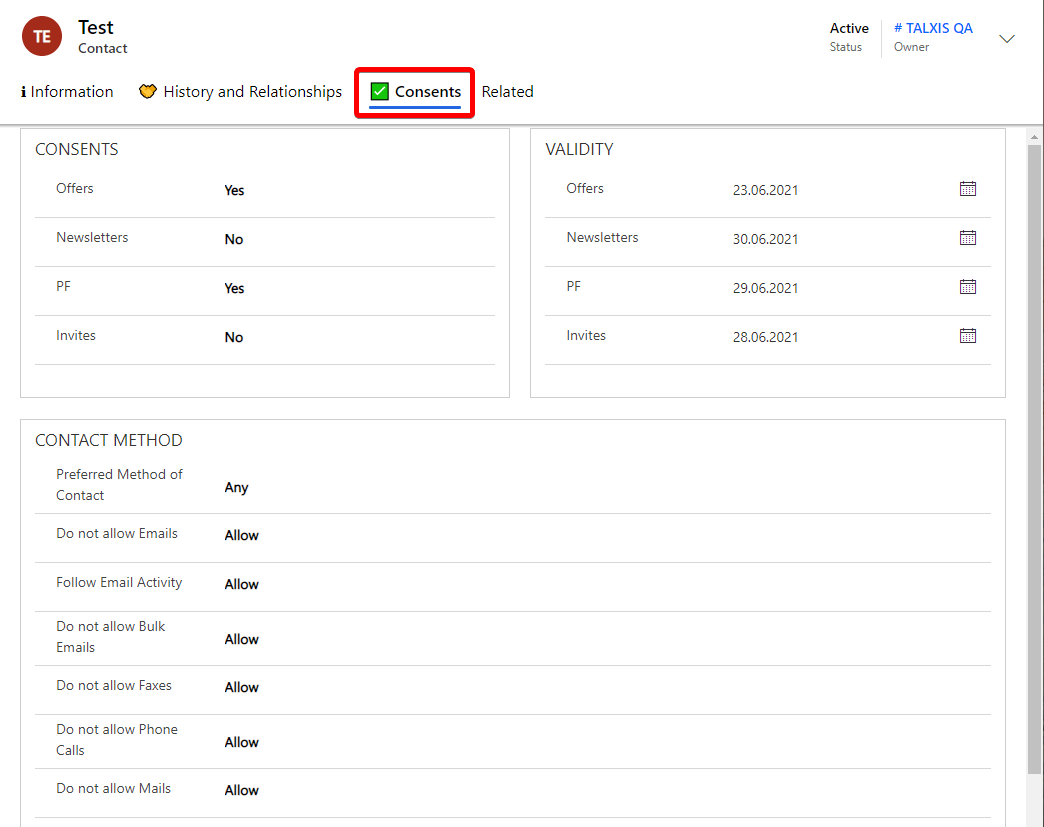
On the Consents tab, you can see the consents granted to you, for example, for sending offers or newsletters and the validity dates of the given consents or the preferred or permitted methods of contacting you.
# Deactivate contact
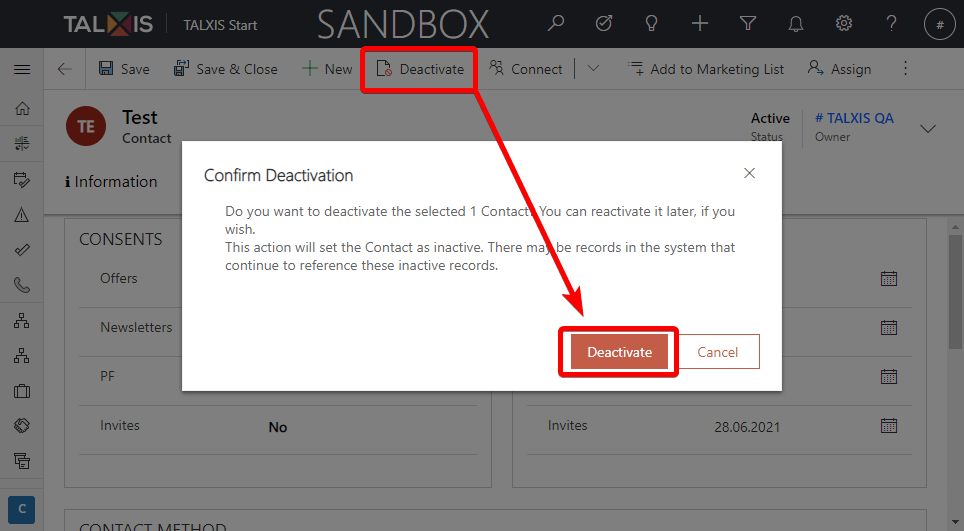
You deactivate an account or contact rather than deleting it. This ensures the integrity of the audit trail associated with that record.
When a deactivated contact becomes inactive, it cannot be edited. However, it can still be used to establish new relationships with other records. All relationships created with the deactivated item are still available.
- To deactivate a contact, press the Deactivate button and confirm it in the dialog.
