Create and manage a project
# Create and manage a project
Each purchase invoice belongs to a specific project so that we have an overview when issuing invoices.
# Where are the projects?
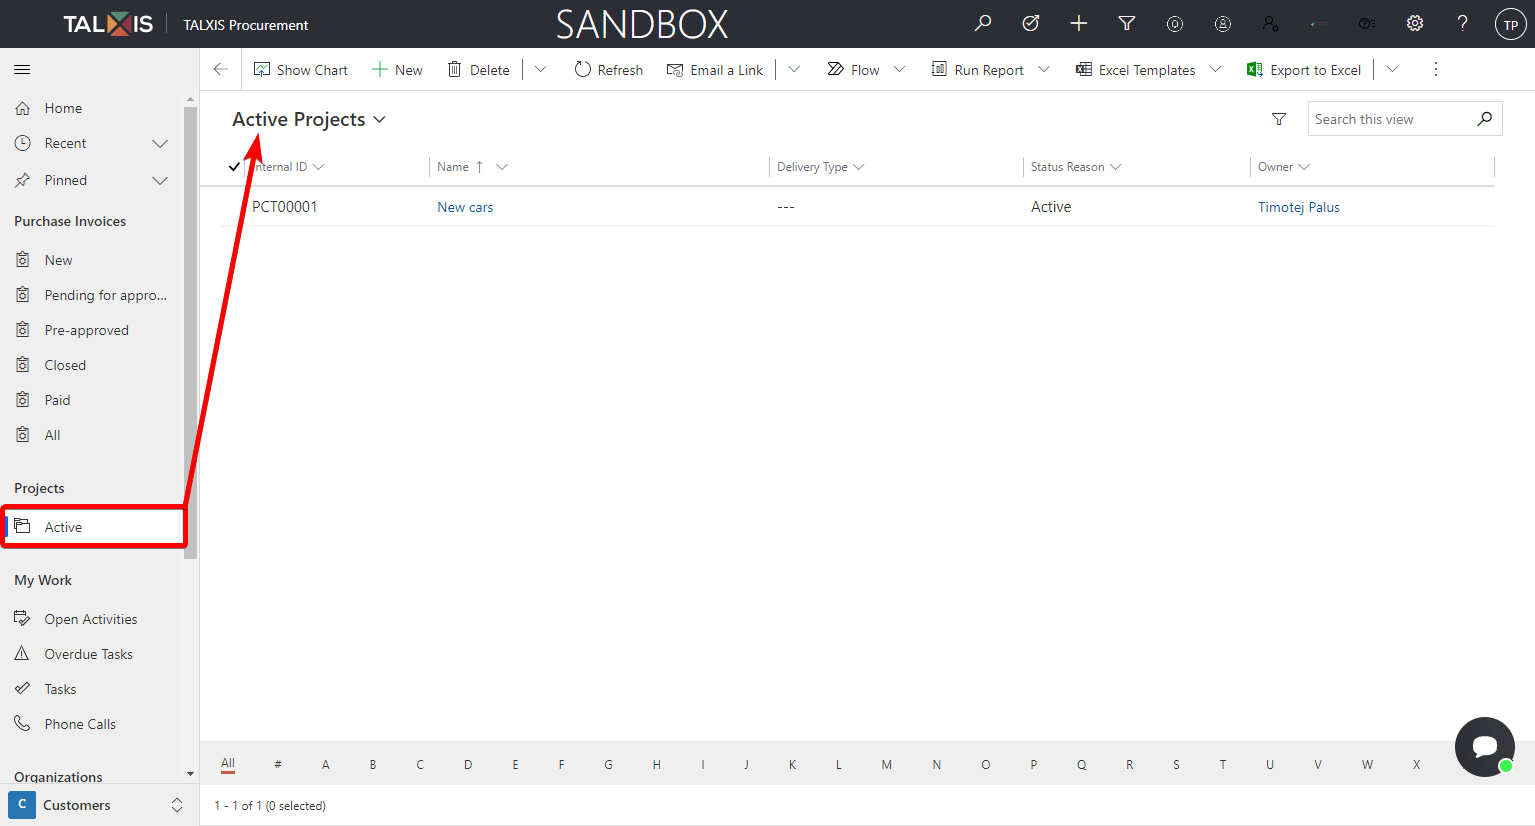
All projects can be found in the Projects group on the sitemap.
After clicking on the Active subarea, a view with records will open. More about views here.
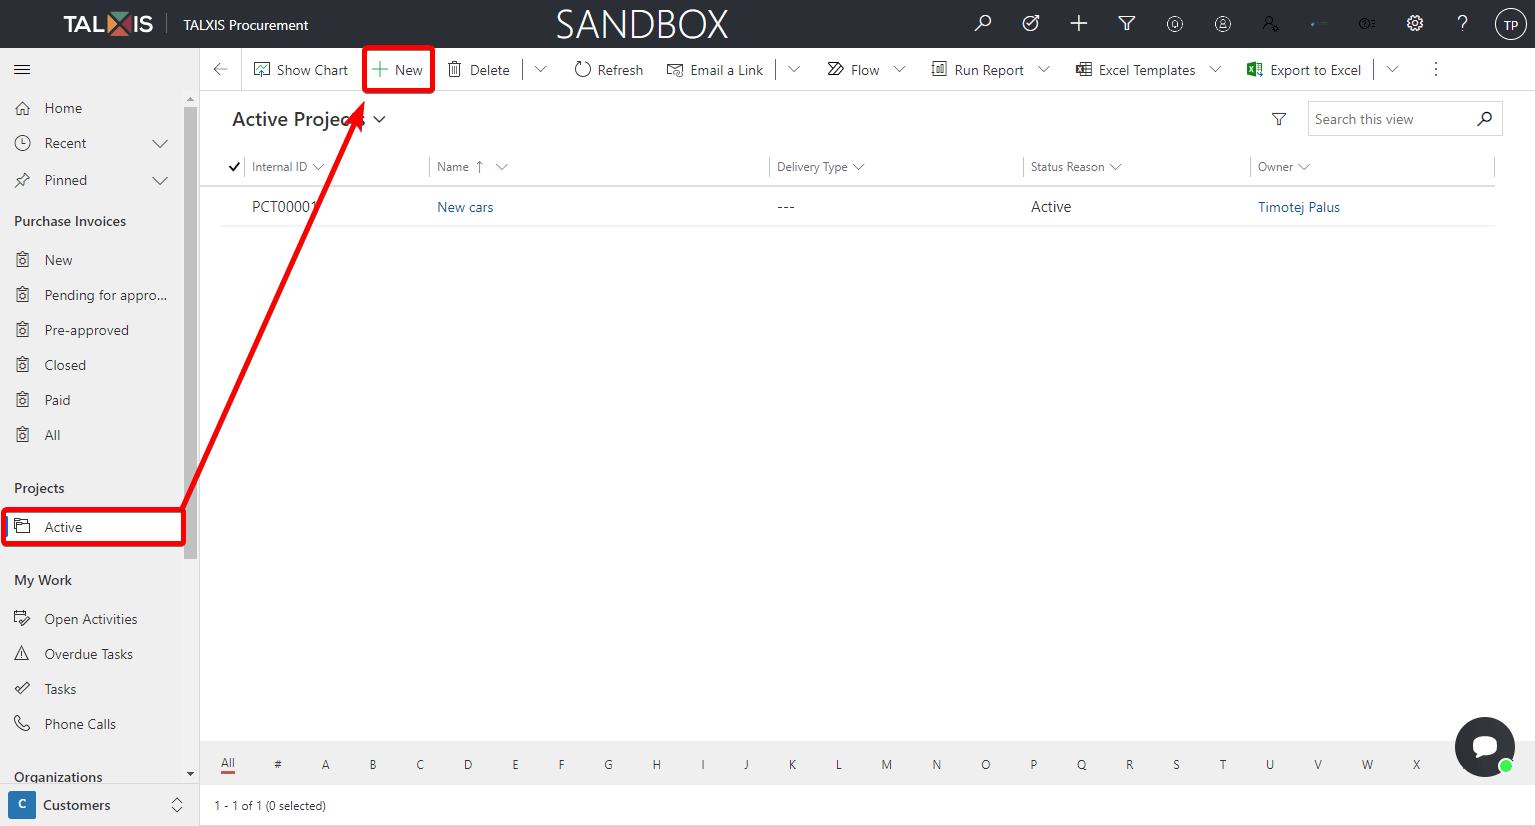
# Create a project
- In the Projects group, select Active subarea.
- Press the New button at the top
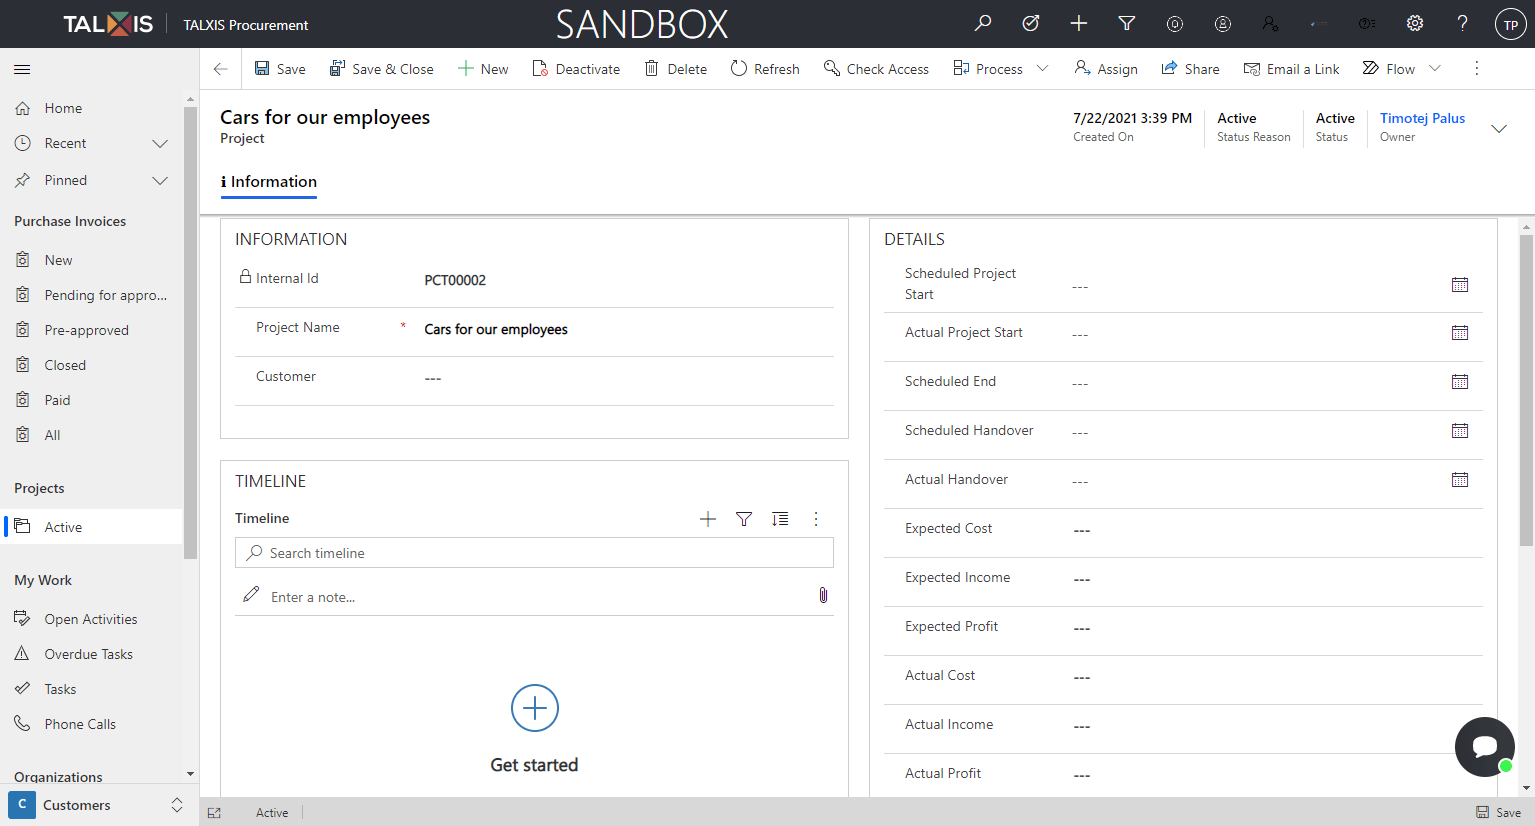
After pressing the New button, the project form will open. More about forms here.
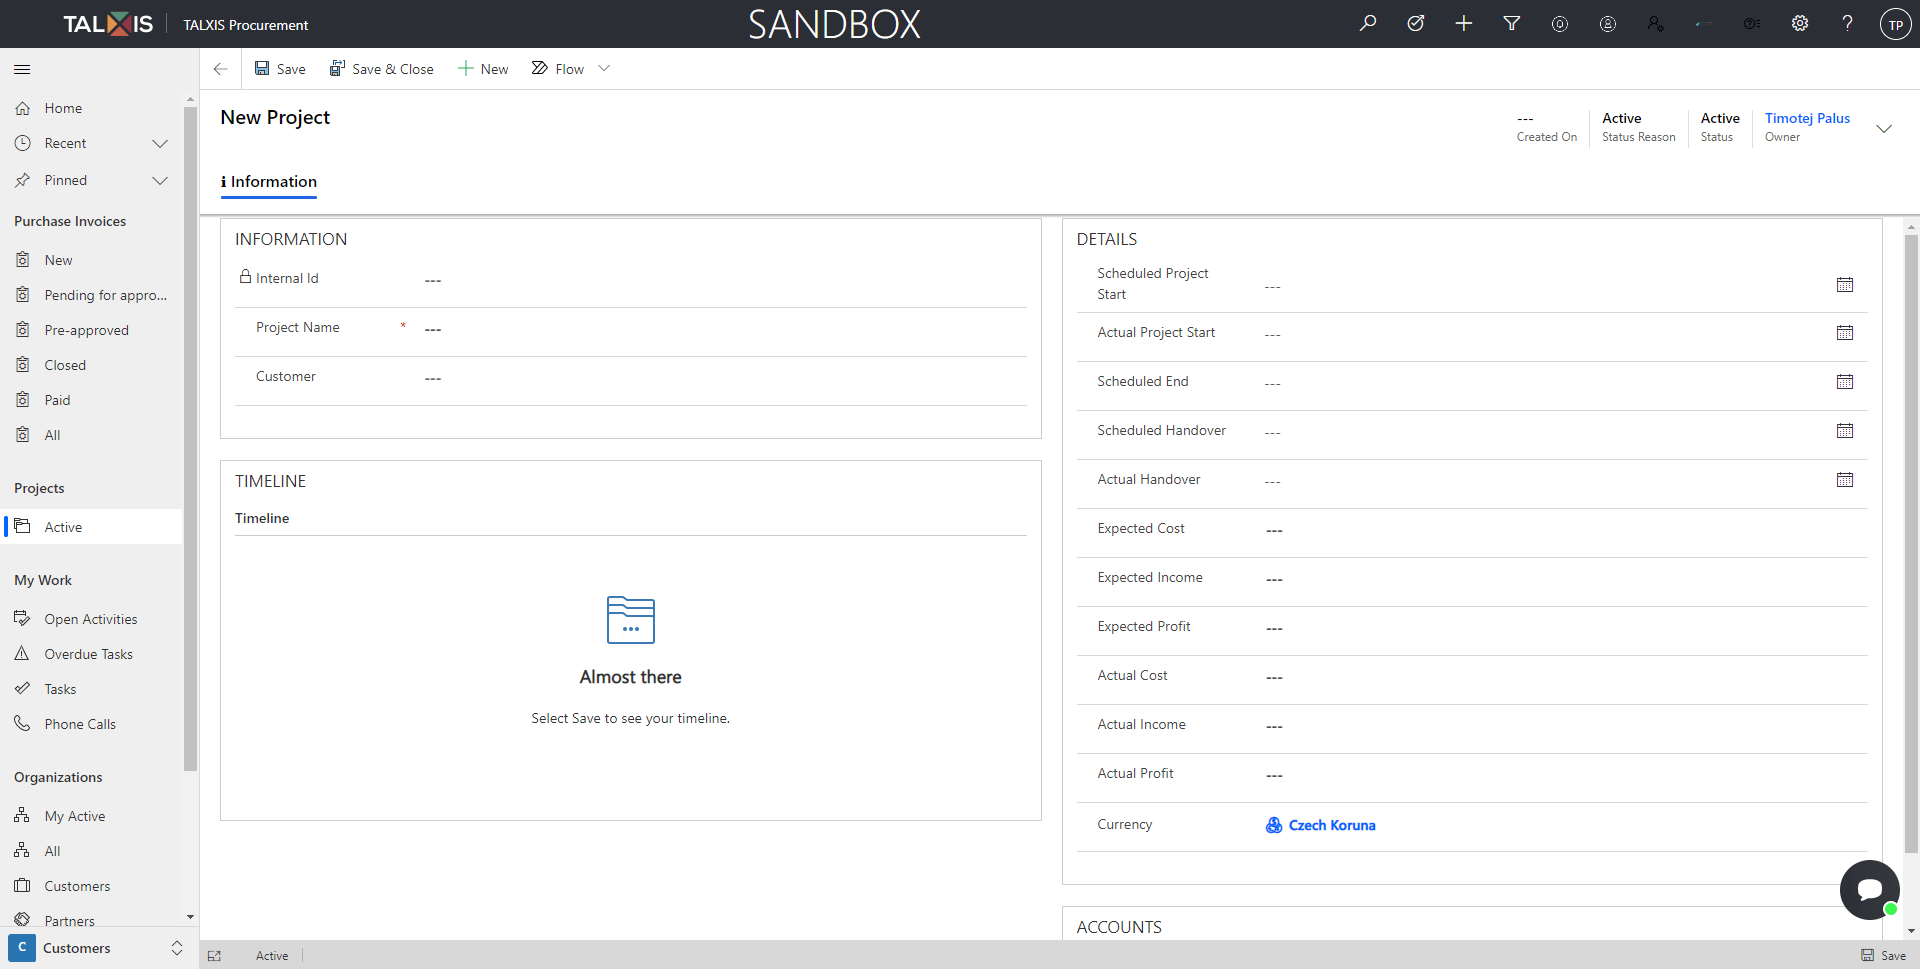
- Fill in a form.
There are many fields in the form that can be filled in. Not all fields and controls are available immediately after opening the form, but only after saving the form.
To create a project, just enter the project name, as this field is required.
There are also other fields on the form such as scheduled project start, Expected cost, expected income, etc.
- Save the form
The saved form should look like the photo below.
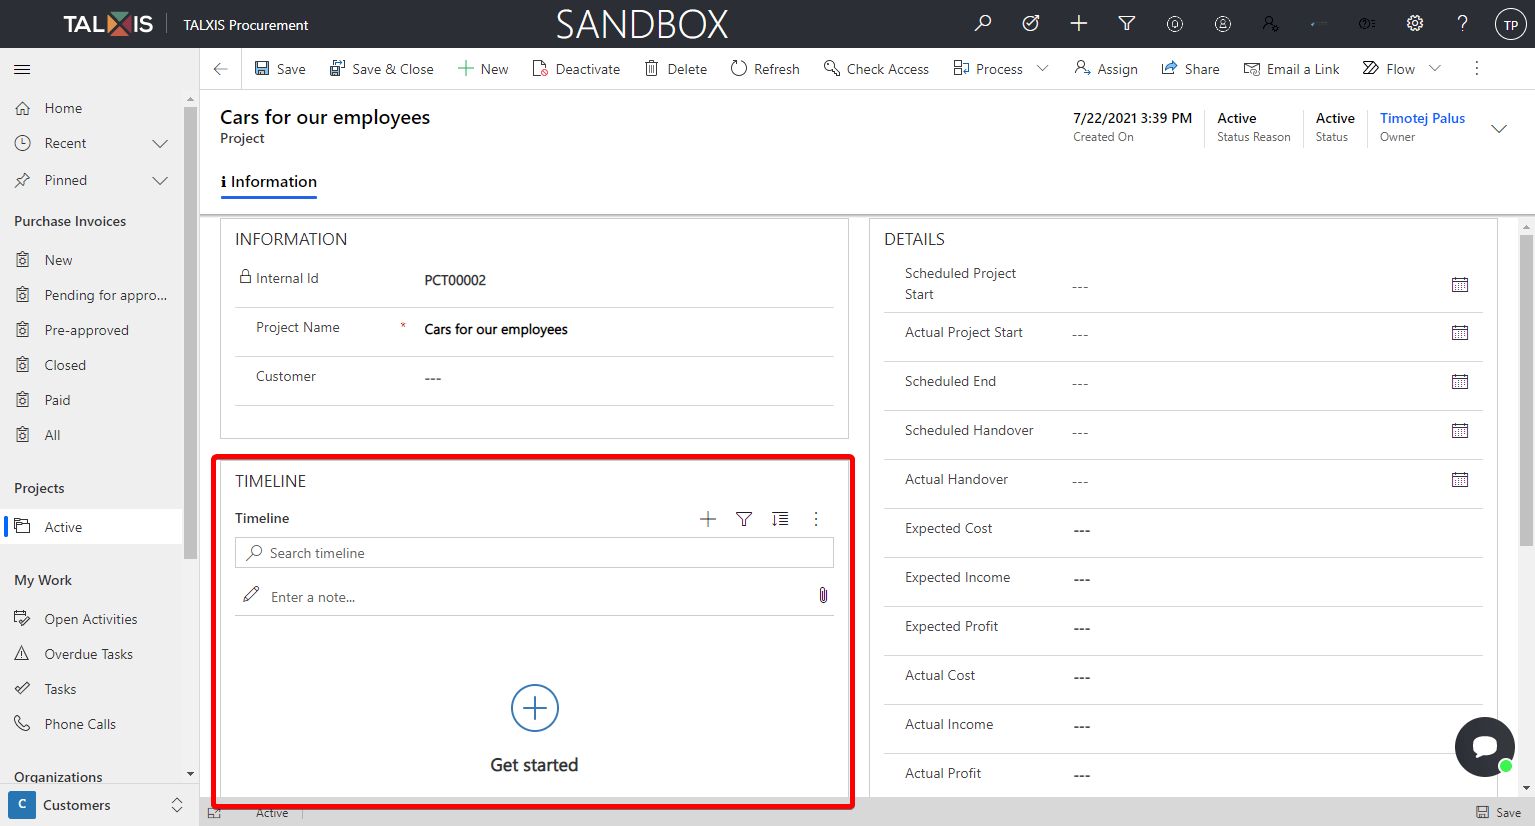
# Timeline
The timeline is used to store activities linked to a record. More information about timeline here.
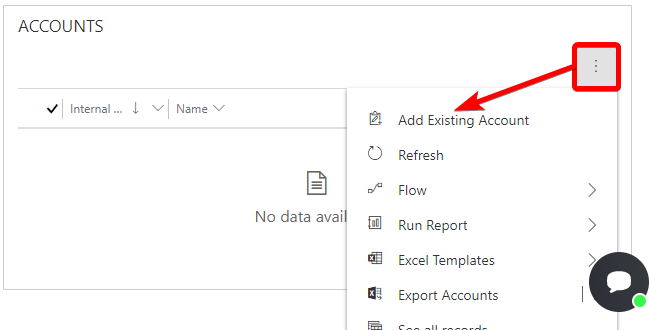
# Accounts
Within the project, you can include the accounts to which the project applies. To add an account, press three dots and add an existing account.
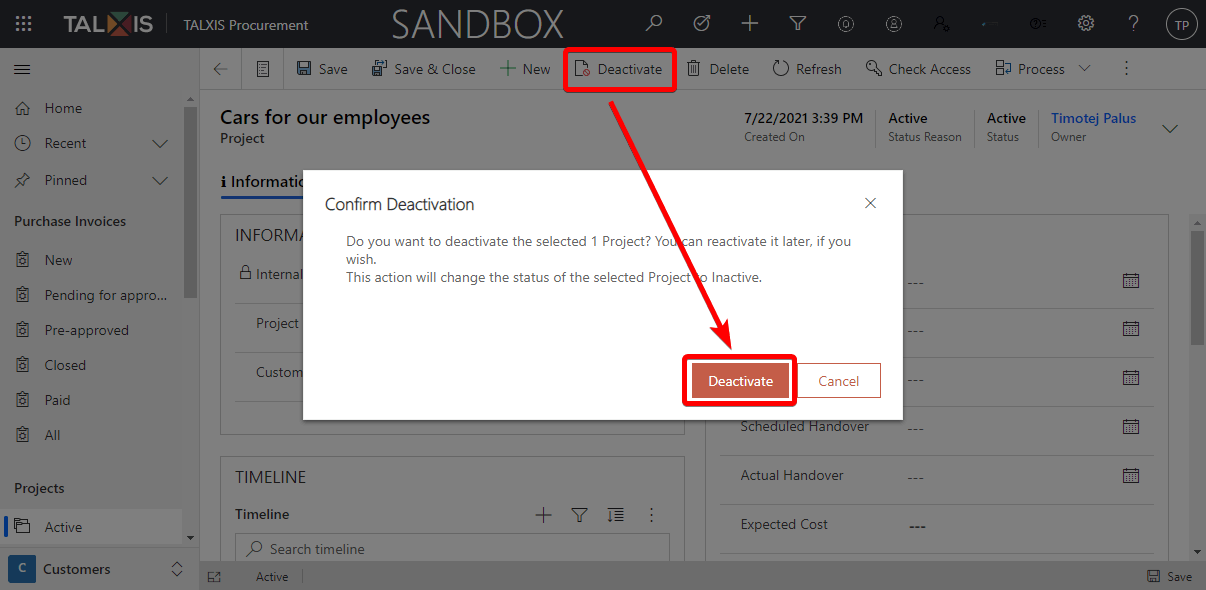
# Deactivate project
If the project is no longer active, you can deactivate it.
Warning
Never delete records, always deactivate them.