Sign the contract
# Sign the contract
Once a contract is approved by the representatives, the next in the process is a signature by a counterparty. You can choose to have the contract signed manually or electronically thanks to integration with Signi (opens new window).
# Manual signing
This option requires more user actions because it is not automatically sent for signature after approval. The user has to update the contract, so it would be in status Sent for Signature. After the contract is signed, the user has to upload the contract to SharePoint and finish the process.
As goes for previous stages, you'll be notified by tasks. You will find more about it right here: Tasks during contract processes.
# Send for Signature
- Navigate to the contract through the Regarding attribute in the assigned task.
- Get the documents for signature from the Attachments section and send them to the counterparty.
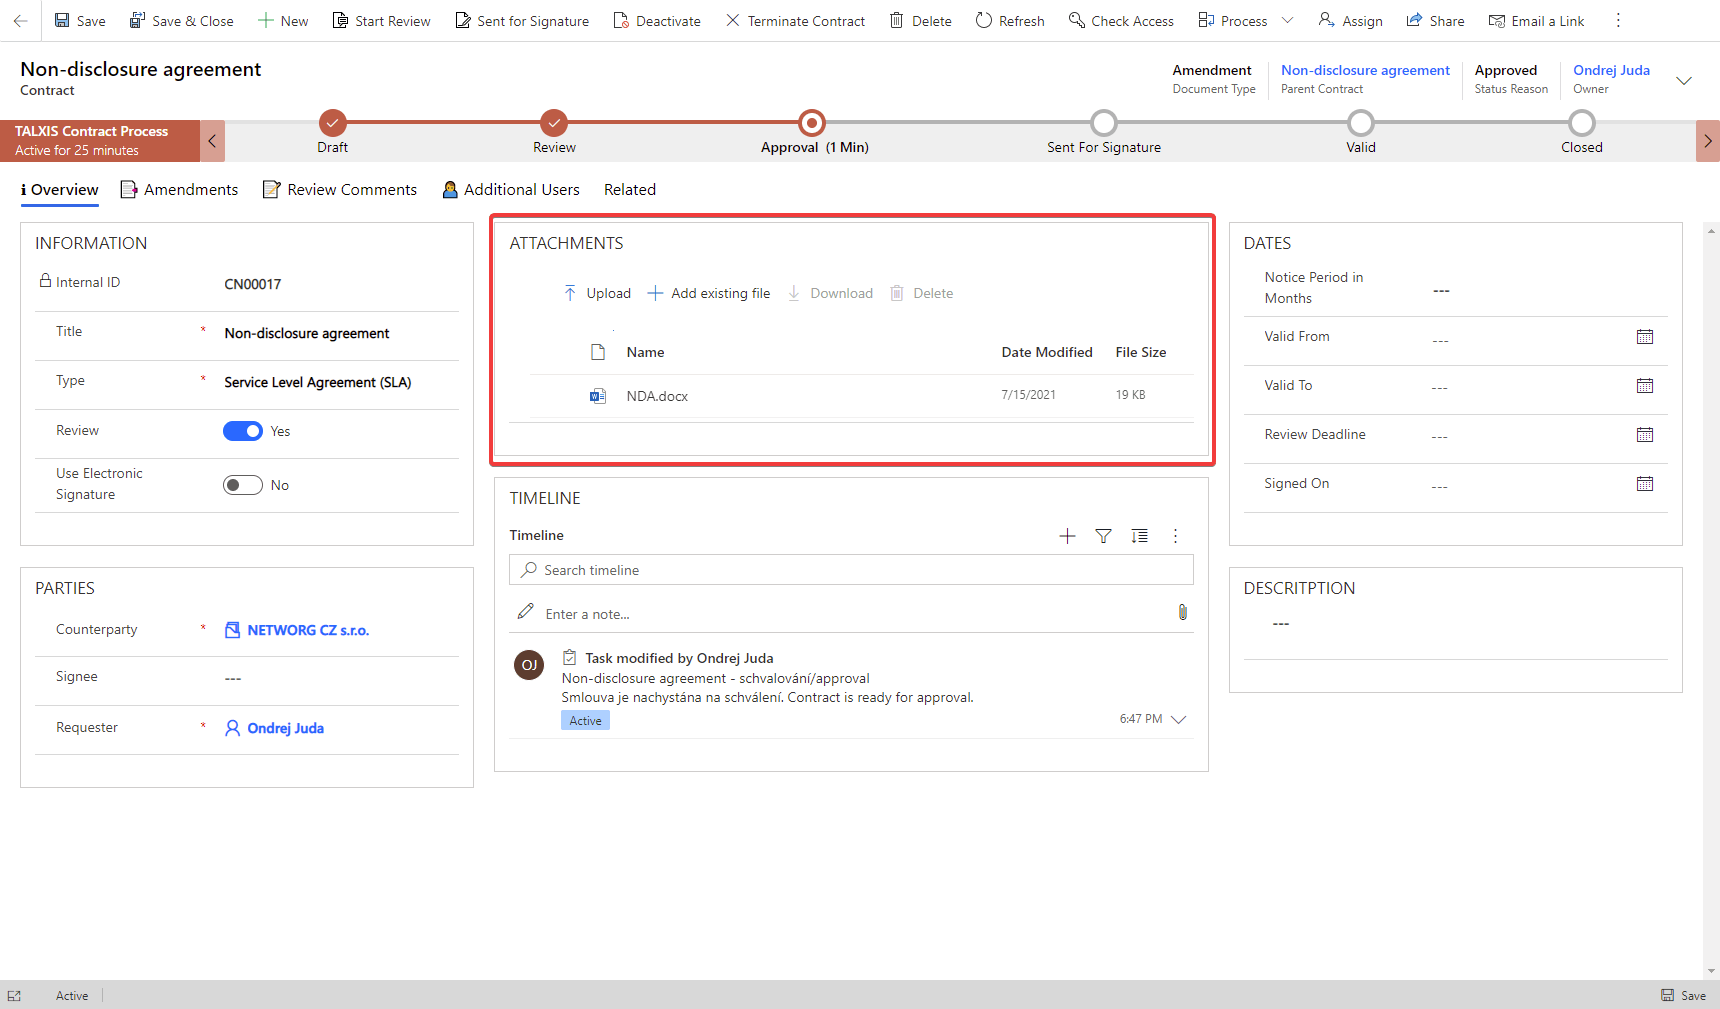
- Click the Sent for Signature button in the ribbon.

- Dialog pops up. Continue by confirming you sent the contract.
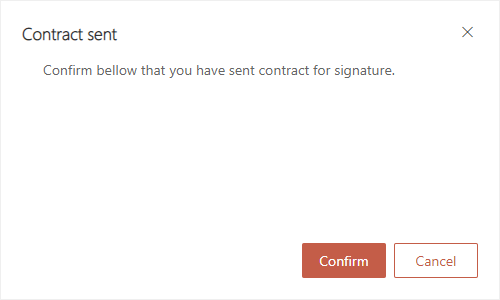
- Go back to the task of sending this contract and complete it.
- Wait for the response from the counterparty.
You have two options after you receive the contract back from the counterparty. You can either start a new review round if the counterparty has any comments or you can mark the contract as signed. You will find how to do it right below.
# Mark contract as signed
- Navigate to the contract through the Regarding attribute in the assigned task.
- Upload the signed documents to the Attachments section.
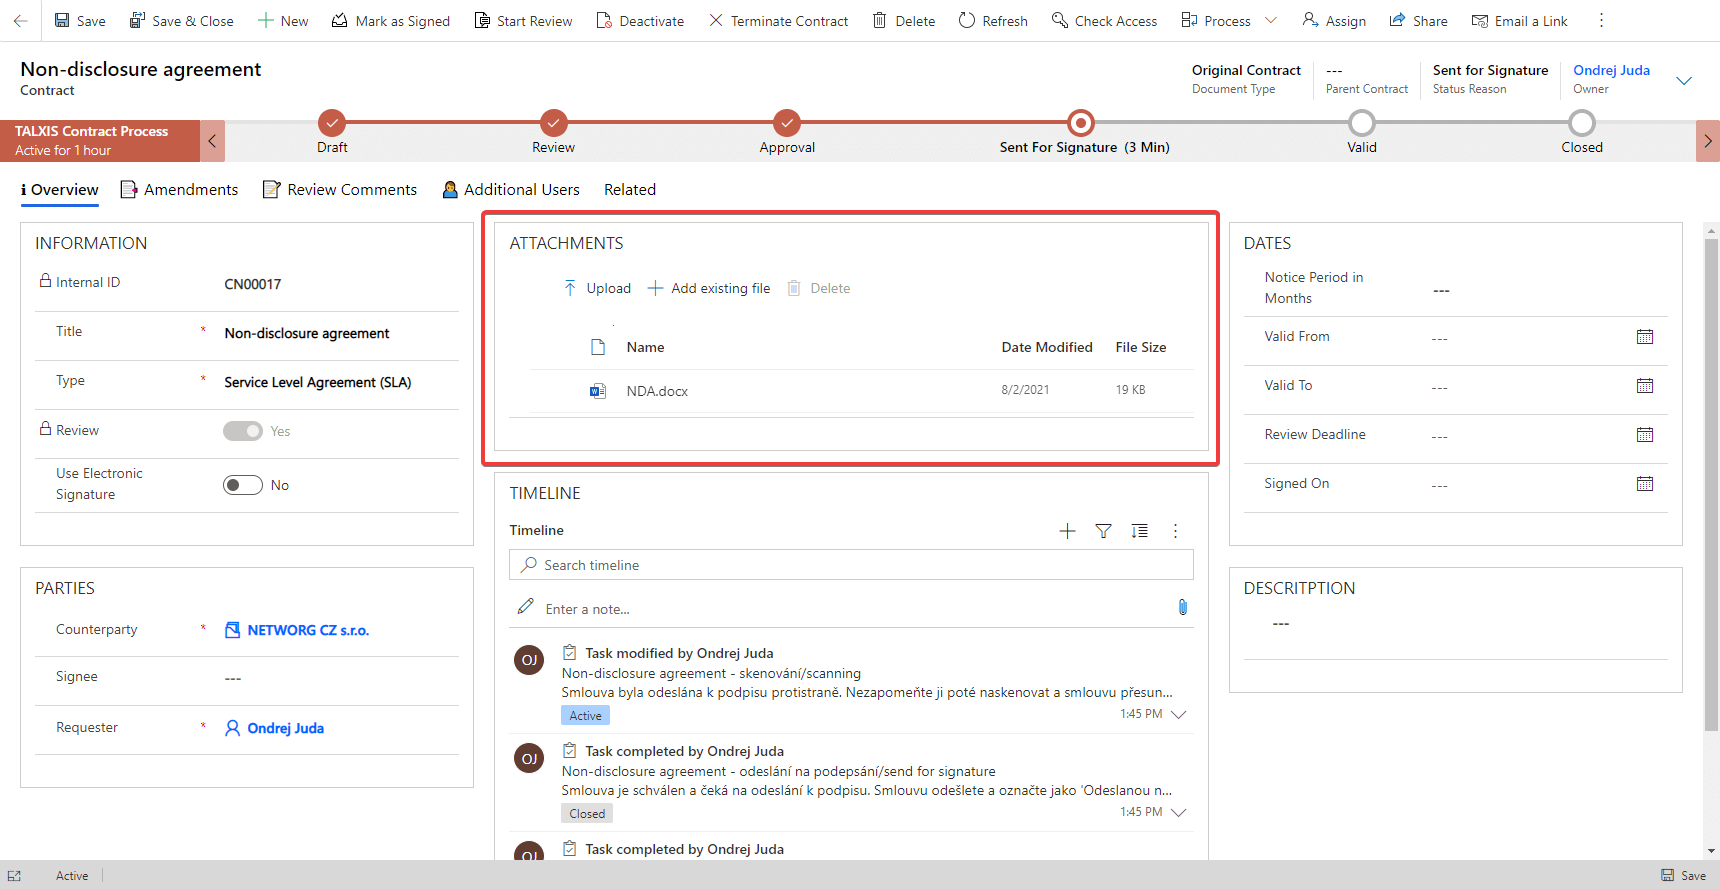
- Mark the contract signed by clicking the Mark as Signed button.

- Dialog pops up. Fill in the Signed On and the Valid From dates both attributes are mandatory.
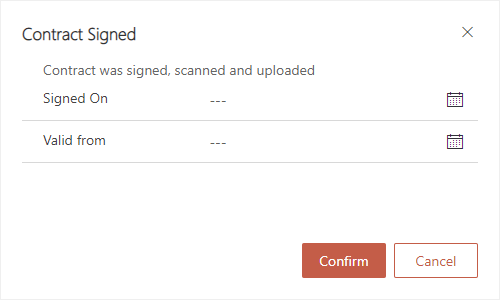
- Click the Confirm button to finish the process.
- Navigate back to the task and complete it.
# Start a new review round
Starting review at this point is similar to the one at the beginning of the whole contract process. The only difference here is that you have an option to create a new comment.
- Navigate to the contract through the Regarding attribute in the assigned task for scanning and completing this document.
- Click the Start Review button in the ribbon

- Dialog will pop up. Here you can fill new Review Deadline and create a comment by writing it in the Review Comment attribute.

- Click the Confirm button to start a new review.
- Navigate back to the task and complete it.
# Electronic signature
We are preparing this content